
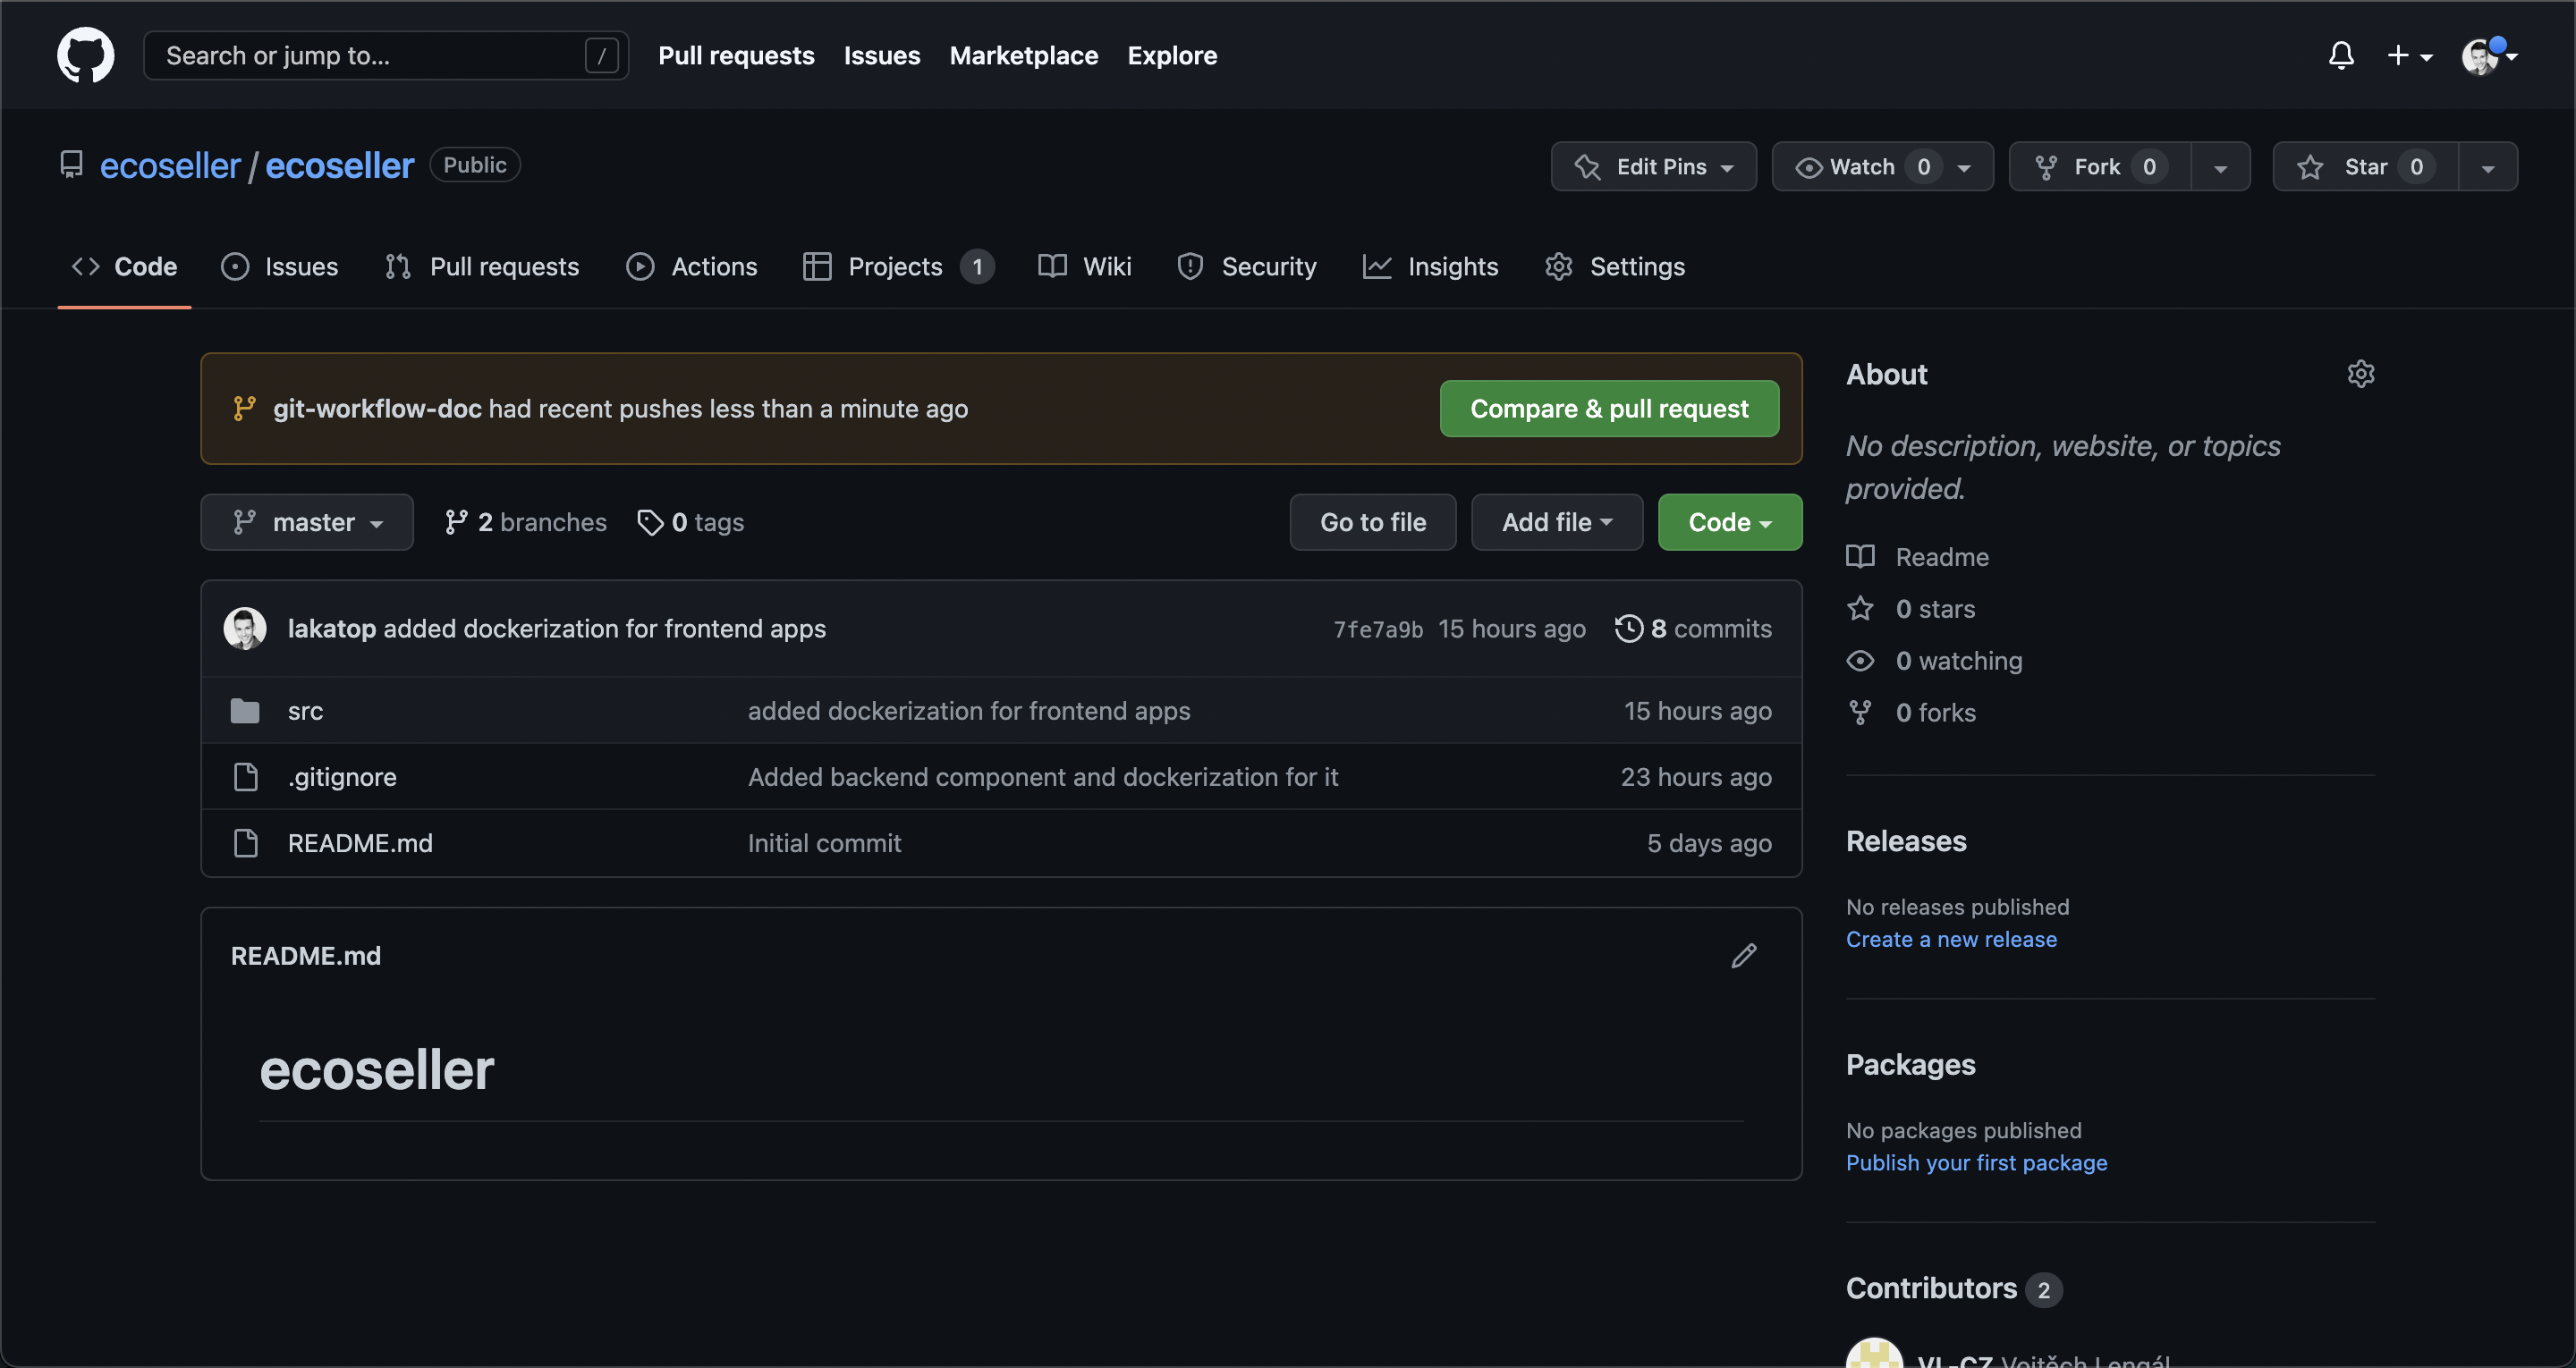
To contribute to ecoseller, please stick to the following rules:
GIT Workflow
When working on a project, it is important to have a workflow that is easy to understand and follow. This document describes the workflow that we use at ecoseller.
Working on a new feature/bug
- Update your master branch - on
masterbranch run the following:git pull origin master - Create a new branch and checkout to it
- follow naming convetion for branch names
T-<task-number>git checkout -b T-<task-number>
- follow naming convetion for branch names
- Work on a given feature/bug. Commit your work often (you do not need to push these commits to remote branch)
- follow naming convention for commits
[T-<task-numbe>] <short-description>git add . git commit -m "[T-<task-number>] <short-description>"
- follow naming convention for commits
- Push changes to remote branch
git push origin T-<task-number>- First push to remote branch will create pull request - go to the project github page and click on Compare & pull request button
- If you are not done with the feature/bug yet, mark this pull request as draft
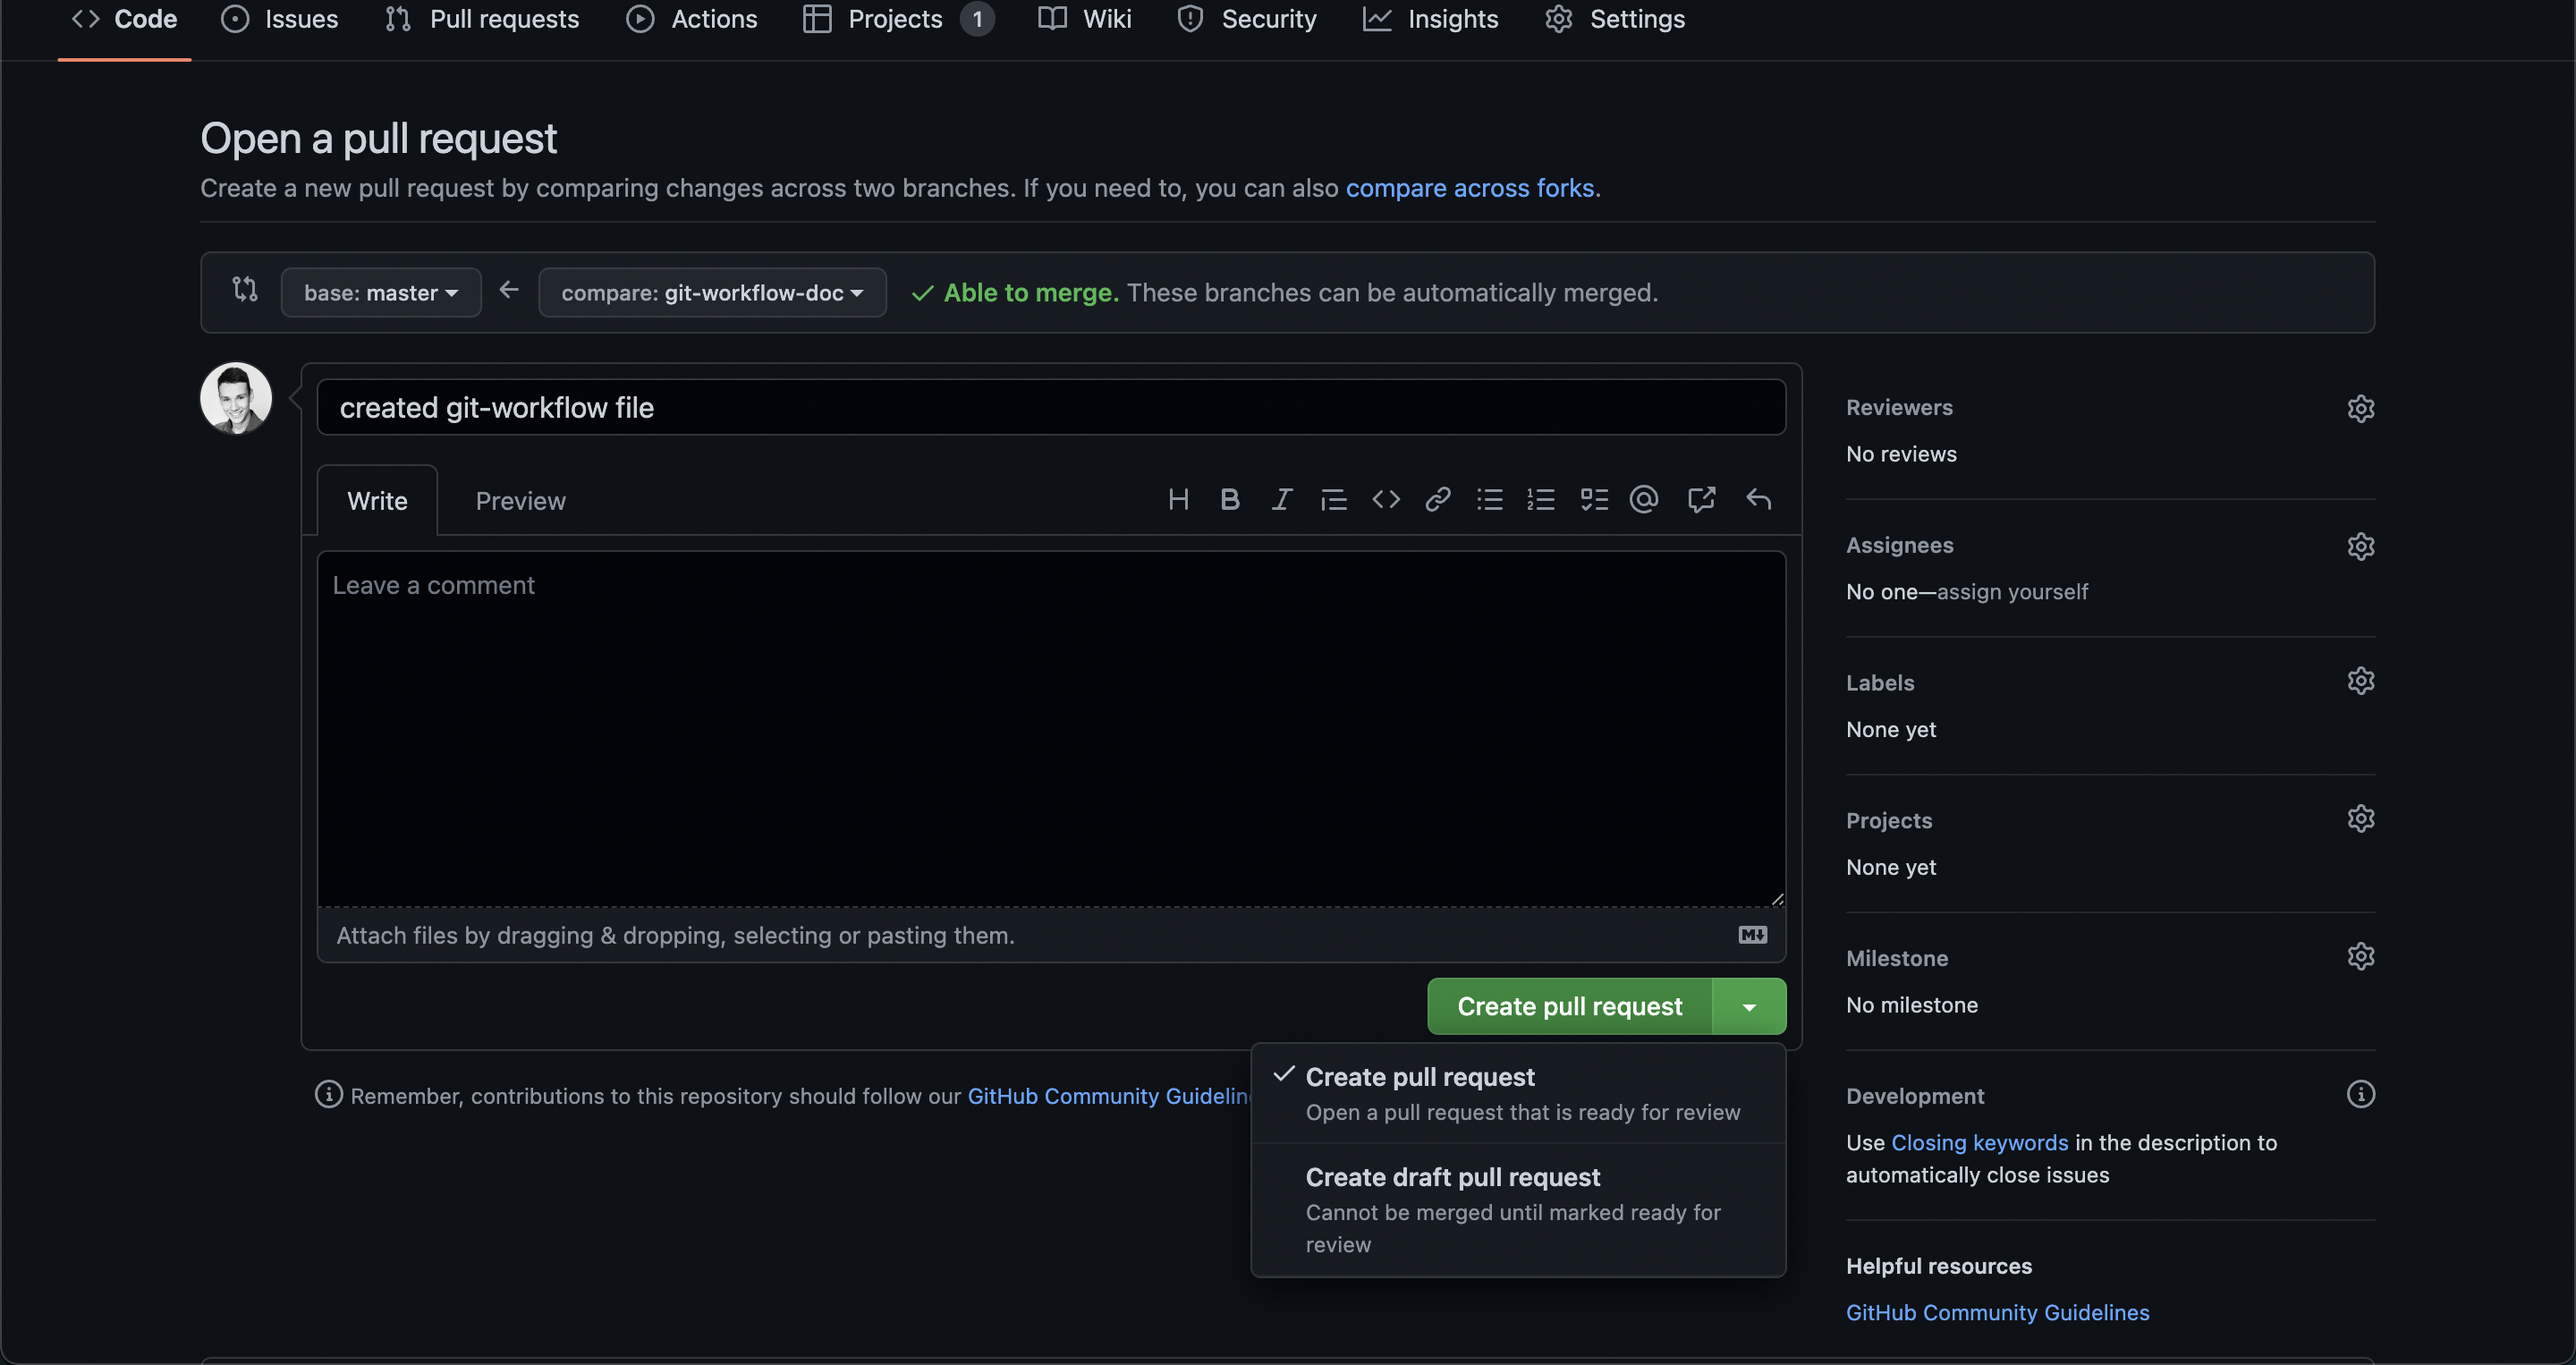
- After feature/bug is done, fill in nice description, mark pull request as ready and send it to review
- When a feature/bug branch is ready to be merged into a
masterbranch, do the following:- Update your master branch to the latest state
git checkout master git pull origin master - Checkout to feature/bug branch
git checkout T-<task-number> - Rebase feature/bug branch on top of
masterbranch and squash commits into one- This can be achieved via interactive rebase (
-ioption) which will bring up editor where you can squash all commits to the first one (letpickoption for the first commit and on all the follwoing commits usesoption) - After squashing, do not forget about naming convention of representative commit
[T-<task-numbe>] <short-description>git rebase -i master - Fix all potential conflicts while rebasing
- This can be achieved via interactive rebase (
- Checkout to
masterbranch and merge feature/task branchgit checkout master git merge T-<task-number>
- Update your master branch to the latest state
Linear history
Applying this workflow keeps the git history of a project linear. That is good for the following reasons:
- Easier to read
- History is more clear
- No useless commits and new merge commits
- Easier reverting and cherry-picking
- Git bisect
What to do when
This section describes some common made mistakes and how to fix them.
- Forgot to create a new branch
You already made some changes and forgot to switch to new branch. At this point its easy fix, just add what you have done so far and then switch to new branch:
  git add .
  git checkout -b T-<task-number>
Useful commands to remember
git log- shows commits log--onelineoption
git status- status on current branchgit fetch origin- fetch remote branchesgit reset HEAD~<number>- movesHEADpointer<number>commits behind--hardoption - discards local changes--softoption - keeps local changes
Continuous integration
We use Github actions for CI.
There are multiple jobs set up (1 for each project component + action for docker compose), which automatically run on every commit to master branch
and pull request update.
What to do if CI jobs fail
See the error in Github Action detail.
If it’s a linter/formatter error, see the section of corresponding component.
Follow the instructions for linting / formatting.
After everything works locally, commit and push the changes, CI jobs will start automatically.
Backend
black
We’re using black code formatter.
Run
black ./core
to format source files (you need to have virtual env activated).
flake8
We’re using flake8 linter.
Run
flake8 ./core
to check for errors and warnings. If there are any errors, you need to fix them manually.
Dashboard
Debugging
Webstorm
- Run dashboard app using
docker composeor locally - Open dashboard folder in Webstorm
- Select Run/debug configuration > Add New > Select JavaScript Debug
-
Use the URL, where the dashboard is running (see the example below)
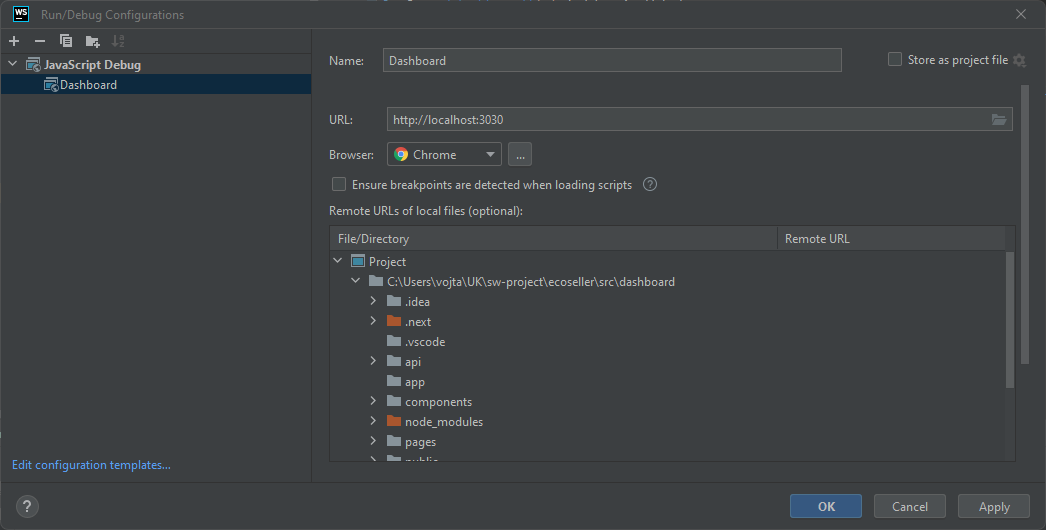
- Then, run debuging using Debug button in menu.
(Also note that this way, you’ll be able to debug client-side code only - therefore not e.g.getServerSidePropsmethod)
eslint
We use ESLint integrated in Next.js for linting
Run
npm run lint
to check for warnings.
If there are any warnings, you can fix them automatically (if possible) by running:
npm run lint -- --fix
prettier
We use prettier code formatter.
Run
npm run format
to format source code files.
Storefront
eslint
We use ESLint integrated in Next.js for linting
Run
npm run lint
to check for warnings.
If there are any warnings, you can fix them automatically (if possible) by running:
npm run lint -- --fix
prettier
We use prettier code formatter.
Run
npm run format
to format source code files.
Recommender
black
We’re using black code formatter.
Run
black ./src
to format source files (you need to have virtual env activated).
flake8
We’re using flake8 linter.
Run
flake8 ./src
to check for errors and warnings. If there are any errors, you need to fix them manually.